Luma Island guide
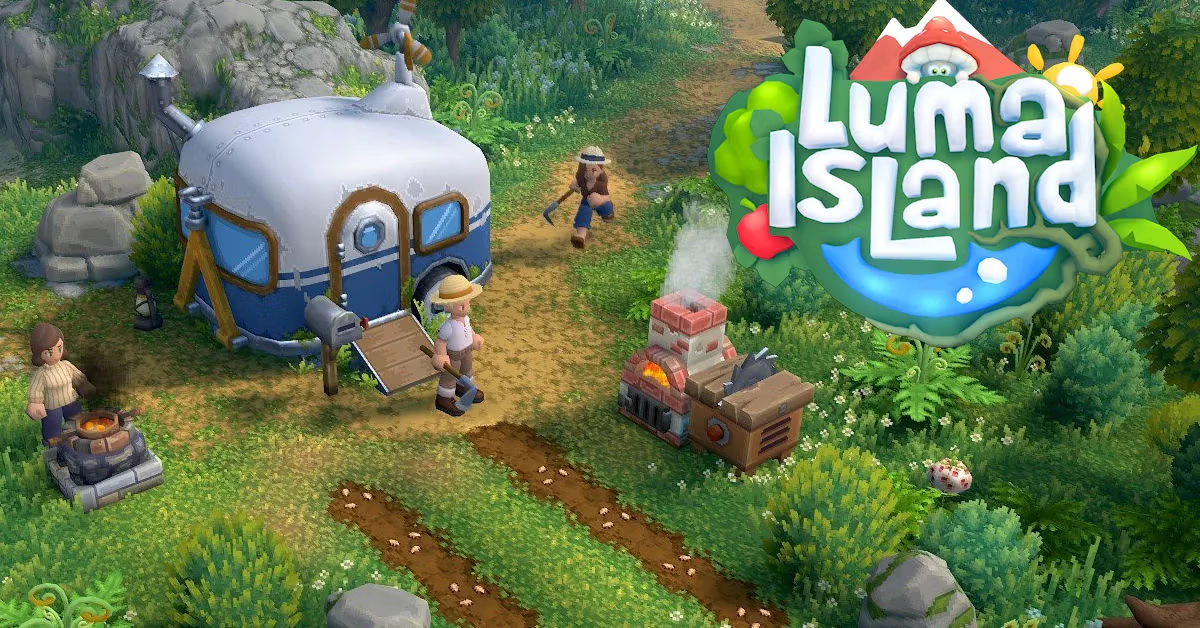
This is a first look at Luma Island. A fun little farming and exploring game for 1 to 4 players with plenty of puzzles but no pressure or stress. I will be expanding upon it shortly.
Described as a ‘family-friendly single/co-op adventure game for 1-4 players’, Luma Island is a fun, easy going game with a lot to like.
It’s a bargain even at full price (£15.99), but at present it’s 20% off on Steam, so you can bag Luma Island for just £12.79.
I thoroughly recommend it!
There are one or two minor niggles for me, but mostly it gets everything right.
Niggles?
Well, your character plods along at the same slow pace and at times you are like, “Will you get a move on”.
The other one is that there are shortcuts to be discovered, but no fast travel, so there are times when the snail’s pace is a drag. Also, no mini-map or compass, so you get turned about quite a bit, I find, relaying on tabbing to the map.
Saves?
Saves are as you go. So, enter a new area, start a new day, exit the game. So, no undo if you mess up, but really, you can’t mess up greatly so it’s a mote point. The worst thing that can happen is you choose the wrong profession, but that’s just a matter of earning more gold as you can learn all 7 professions.
Accidentally sell all your gems instead of spider parts? Just press ‘undo’
Put the wrong unit down? Put it in the wrong place. Just press ‘x’ and it dismantled the object and returns all the parts to your inventory.
Inventory
Talking of inventories – it’s unlimited, so no messing about with a score of chests or paying for a few more slots on your backpack.
Romance?
In the forums on Steam a few people are already asking for romance, something the devs said they will consider if there’s enough demand.
Just my tuppence – and I understand others will be polar opposite – but I like the simplicity of this game.
I’m massively introverted and autistic, so find socialising a drain, both IRL and in games.
Stardew Valley friendship, for instance, is like OK, make printouts, give them the precise items to get the hearts you need for unlocks, forget them.
Meanwhile, in My Time at Sandrock, I’ll leave my little house, planning for mining or whatever and there’s half a dozen people outside my gate, “Hi! “Hey!” “Hello!” “Want to hang out?”
No! Leave me alone!
Min-Maxing, or not
Similarly, with other (not missing) aspects of the game – health, stamina, min-maxing gear, transmogs, calendar events…
They are times when these are fun to have in a game, but equally, not having them makes this game more relaxing, so you can focus on puzzles or exploring or laying out your farm.
Sometimes less is more :)
Combat
Again, surprising simple. You have a whip, which you can upgrade. That’s it; you don’t need anything else. One crack and it will pull a switch, break a crate or stun a ‘mob’ for a second.
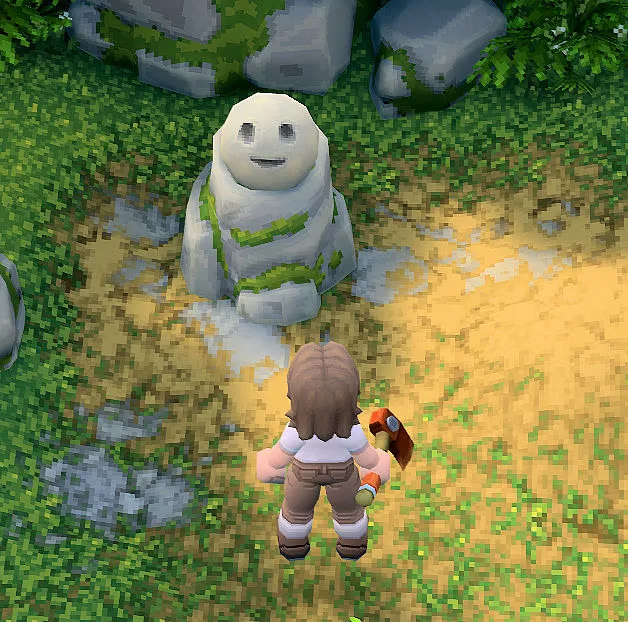
There are a few different mobs, in and outside of caves. Plants will knock items out of your inventory and are an annoyance, but not a threat. Snowmen will freeze you for a second, but again are not a threat. Ghosts and spiders will knock you out, but you recover nearby and can get back to it.
Unusually, I think, you can disable spiders in the game if you are scared of them!
As might be expected, threats get tougher are you progress and basically if you can’t kill them in three hits, four tops, you’re knocked out. So, upgrade your whip enough and you one-shot the ‘farm’ spiders – but the forest area foes now need 3 or 4 hits. You know how it goes.
This carries over into mining and chopping trees etc. The better your tool, the easier the job.
Upgrading tools
This is STRONGLY recommended and should be done at the earliest opportunity. It’s possilbe to get most of your items up to 4 or 5 within the first few days, but certainly you want your pickaxe, axe and whip at at least 3 on the first or second day.
Professions
Essentially, critically so, professions serve one purpose: to make you money.
In most games, crafting is either a gold sink, or a gearing mechanism. Here it’s pure capitalism. Food doesn’t give buffs, the pirate outfit cannot be worn or transmog’d, jewelled rings don’t give stat bonuses ‘cos you have no stats to buff. It’s all about raising money to improve your tools, invest in professions and design – mostly aimed to support farming (and Luma pets).
Each profession costs more than the last. First one is free, next is 500, then 10,000, then 30,000, 50,000, 150,000, and finally 500,000.
It is suggested that the easiest profession are cooking, brewing and treasure hunting, followed by fishing, jewelcrafting and blacksmithing, and finally archaeology. I’d argue with that!
It’s worth noting that you are not endlessly upgrading machines. For example, one smelt does all you require – you don’t need one for copper, a bigger, better one for moonstone and so forth.
One thing to remember though is the distinction between skill (there isn’t one), tool quality (important) and registering your profession. For the most part, you don’t need to learn a profession to do it, only to learn new recipes for things to make and sell. For instance, you don’t need to be a blacksmith or jeweller to mine for ore and gems, you just need a pickaxe. You can farm the materials for use later.
Recommended professions to learn – in order
Archaelogy is first partly because it teaches you how to navigate dungeons, but mostly becuase it’s not something you want to go back and do again!
Fishing is a quick, easy and safe way to earn gold, so that’s next.
Treasure hunter relies on fishing, so you can level these two up side by side.
B/S and jewellery are basically mining.
Crops and beer are time since best left to the end when you have access to sprinklers etc.
- Archaelogy (free)
- Fishing (500)
- Treasure Hunter (10,000)
- Blacksmithing (30,000)
- Jewelcrafting (50,000)
- Cooking (150,000)
- Brewing (500,000)
Cooking professions: cooking, and brewing.
Here’s the thing – crops and farming is a time sink.
Crops grow insanely fast – almost overnight for some – and are blighted with weeds, weavils, dustbowls, etc.
You can use a watering can, but this is tedious. Or a hosepipe, faster, but can miss spots, so you are back out with the watering can. So, you really need sprinkler systems, which lean towards ‘end game’ as the 7×7 sprinker needs mining in the mountains, which means completing the farm and forest zones first, while the 9×9 sprinkler requires gathering material in the jungle.
That’s watering.
Then there’s weeds, which are relentless and strangle your crops. These at least are easily sorted with rabbits.
Then there’s beetles, weevils to be precise, munching down on most of your crops and halting their growth. Funnily enough, these might even be welcome as you can scoop them up with a net and using them as fishing bait. Other than that, you need chickens to eat the bugs. Sorted! Plus you get eggs as well. Win win.
Except (cleverly), chickens attract foxes! Oh dear. As this is a nice game, they only scare your chickens, they don’t actually eat them. Still, they will stop laying and stop eating bugs if they thinking a fox is after them – so you now need a goat or two roaming around to keep the fox at bay.
Some crops – notably trees and vine crops like grapes – need fertiliser to grow, and then refertilising after every harvest. Got a field of grapes, that’s perhaps 48 or more vines that each need fertilising. Fortunately, by default, you can add fertiliser to the sprinklers, making it far less tedious.
You still have to gather the appropriate ingredients and craft for each crop.
The rest require buying more seeds to plant – but the crops have a small chance to spawn an everseed.
Crops
Wheat
Blueberry
Strawberry
Corn
Sunflower
Tomato
Sugarcane
Eggplant
Pumpkin (needs a beehive covering the crop to fertilise)
Potato (needs a beehive covering the crop to fertilise)
Watermelon (needs a beehive covering the crop to fertilise)
Grape (vine, needs farm fertiliser)
Apple tree (needs farm fertiliser)
Orange tree (needs farm fertiliser)
Cherry tree (needs forest fertiliser)
Starfruit tree (needs forest fertiliser)
Chili (needs forest fertiliser)
Almond tree (needs mountain fertiliser)
Kiwi (vine, needs mountain fertiliser)
Cocoa bean (needs a beehive covering the crop to fertilise)
Coffee bean (needs jungle fertiliser and a beehive covering the crop to fertilise)
Mango (needs jungle fertiliser and a beehive covering the crop to fertilise)
Farm animals
You ideally want 2 chicken and 2 rabbit for each 9×9 crop area, with 2 goat covering 1 to 2 crops (to protect the chickens)
Rabbits: eat weeds
Chicken: eat crop bettles and lay eggs
Goats chase away foxes and give goat milk
Cows give milk
Pigs can dig up fertiliser, with a small chance of also digging up ginger.
(Truffles would have made more sense but it’s ginger).
Note that you have to hoe/plough the pen for this. And water it, allowing the weeds to grow. You ideally want a sprinkler in there!
I had been weeding so the pigs could roll in the mud, this is wrong!
You have to let the weeds grow. Once pigs eat the weed, they will drop ginger and fertilizer. They still want hay as well, I believe.
Fishing
Fishing needs bait – such as caterpilars – and is often specific to the zone you are in. On the plus side, fishing in this game is one of the best implementations I’ve ever seen!
Cooking these involves gathering nearly resources such as seaweed, shrimp and mussel.
One thing that will throw you with fishing is finding jellyfish (farm), stingray (forest), squid (mountains) and optipus (jungle). You have to cast when there’s no fish to bite and wait for a tug. Then just reel it in.
Treasure hunting is curious in that it’s really fishing, but you use magnets for ‘bait’, then you use the loot and other gathered materials to make stuff – like a pirate’s tricorn.
Crafting: mining, blacksmithing and jewelcrafting
Miningand blacksmithing is obvious – ore, gem and stone. the important part of mining is just how much metal you need – partly for building ovens etc, but mostly for upgrading your pickaxe etc.
Jewelcrafting is just taking the processed ore and gems and making them pretty.
Gathering
This ties in with all professions, but I’ve lumped it under crafting as it’s the best fit. So wood, cotton, spider webs, mushrooms, tokens from chests, grass for hay / animal feed and so forth.
Fortunately the tooltips are reall well thought out and will say, for instance “sell”, or “Sell, but can be used by archaeologists” or “used in crafting”.
What the tooltip misses is caveats. For instance, bat wings are not leather, they are junk and can be sold as such. Except, Is it though?
. Some of the ‘junk’ is used as payment to enter some rooms in dungeons. They are profession based and typically ask for three types of item – which in one case includes bat wings.
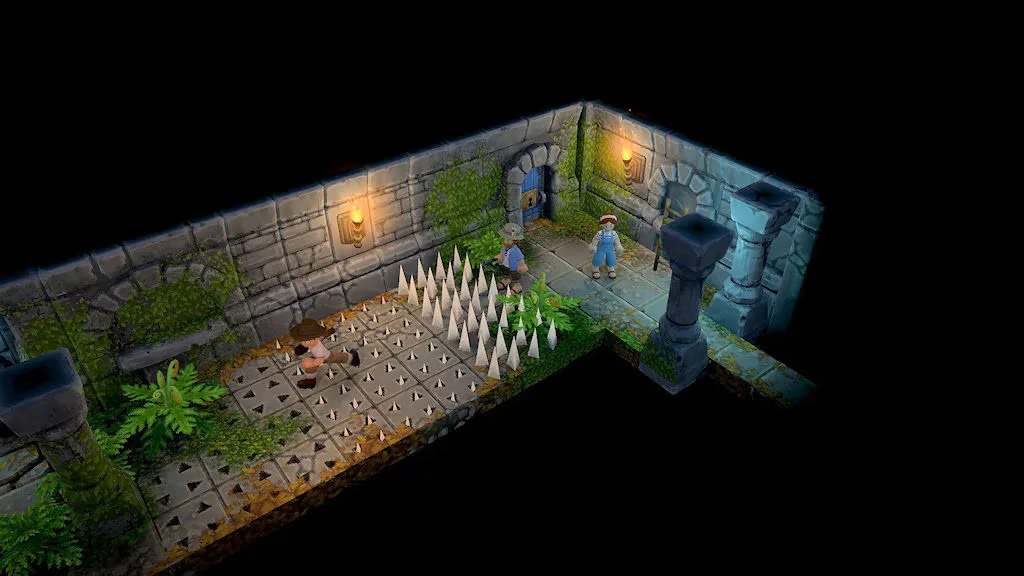
Archaeology
The game gives this 3 skulls for difficulty, but here’s my thinking: it relates to ruins. You have to explore the ruins anyway to progress. Ruins in each of the four zones. Might as well start with this as getting your second profession is cheap.
The offside is it’s not so much ‘difficult’ as a test of patience and tenacity as much as skill. If nothing else, it teaches you how to play the game!
You enter an otherwise locked room, grab two items and have to make it out of the ruins alive – so you have 3 ‘lives’. Lose them and you have to leave and start the instance again (and again, and again…) if you want to get the relics.
It can get frustrating!
Falling rocks, flame throwers, blades and sundry other one-shot muuch be navigated near flawlessly, often with literally split-second timing!
No pain, no gain, I guess.
On the plus side, your lives reset with each room. You just have to make it one room at a time!
Pets
There are two type of pets in this game, regular (cats and dogs) that can help you find treasure and Luma, which you have to discover and hatch. These latter have a bit of a Pokemon look to them, and include a worm floating with the aid of a balloon, a dinosaur wearing glasses, walking mushroom and a leafy turtle. As well as helping discover treasure chests these supply energy balls essential for crafting. Each Luma will supply (up to) two of these a day – provided you feed and pet them. There’s something like 15 of these so far, which should keep collectors happy.
You can only have one pet active and following you at a time. The rest you can leave in a paddock or even roaming free, but a paddock is strongly advised!

Puzzles
These come in various forms but can be roughly divided into three:
Observational.
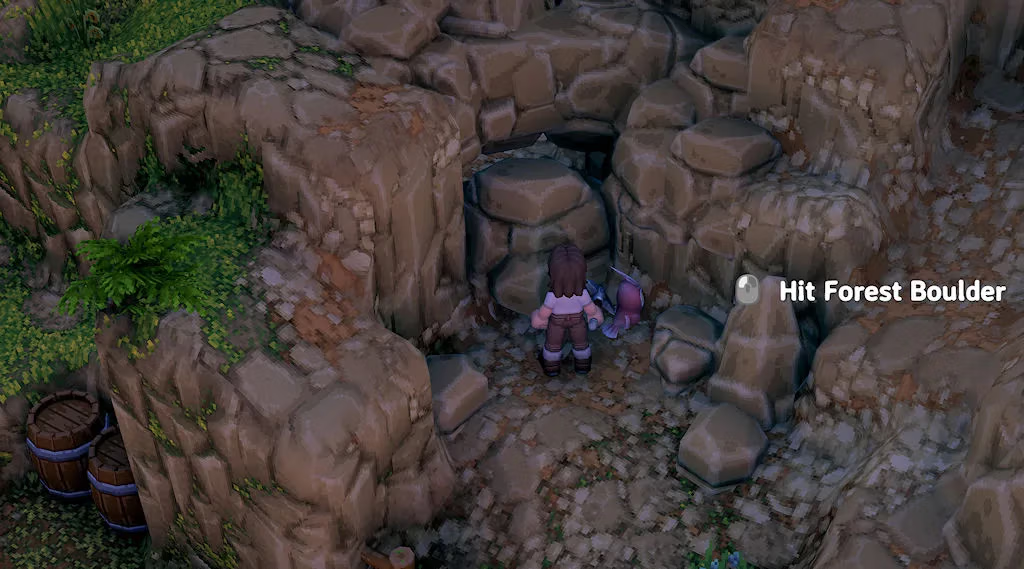
Think ‘detect secret door’. These are general short passageways blocked by a boulder. If you spot one, whip out your trusty pickaxe and see where it leads.
Spotted.
You are ‘here’. You see something ‘there’. You cannot climb or jump, or anything like that, so you have to find the path. Mosty it involves breaking rocks, sometimes chopping down trees, as often as not moving the camera angle to find the route.
Challenges.
These are dungeon mechanisms and some of them are frankly devious. Others just annoying. If you ‘die’ you drop a few items (which you can pick up again) and move back to the start of the room, so it’s not a big setback, but when you’ve been mown down by criss-crossing blades several times because you haven’t got the timing exactly right, “Oh, it’s on!”
Then you make it and realise that was the easy part and that now you have to go back to the start and flip three switches around the room and complete the obstacle and exit on time. I think the developers were or would be fans of the ‘The Crystal Maze’ TV show!
Help!
From playing and from glancing at the community posts, most of the questions focus of finding your way or things.
The farm starter area is quite small, so shouldn’t be too much of a problem, and it does introduce you to the game properly.
Look for the Gur too, talking to them offers a reward.
General exploring: I use torches to mark trails, explored ruins, short cut caves etc.
For instance, I use a row of torches to mark the way back to the exit, two torches to mark the flower seed, two rows of two torches to mark the fast travel caves and one torch in front of places I have explored and am unlikely to return to.
This system is particuarly useful in the mountain area due to its layers, so there I explore the bottom, marking as I go, then work upwards.
I use a similar syetm for mines, clearing a 3-4 rock wide path in a straight line to the outer wall, then follow the wall in a complete circle. This builds up a sizeable amount of rocks, coal and ore. Then I create narrow inner circles to mine gems.
Great throw!
Those cubes on pillars? Much mean something, right?
Lob a rock at them (or stick, whatever)!
Hold down ‘r’ and use the arrow keys to aim and release the ‘r’ to fire.
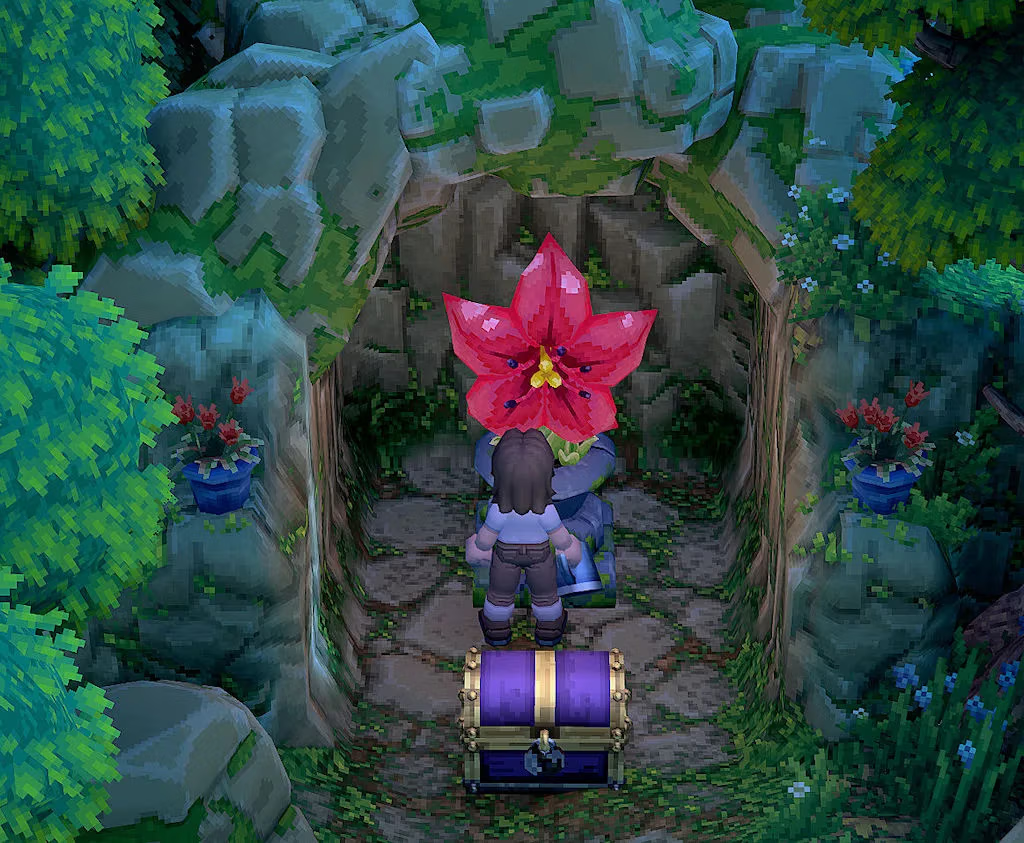
Green fingers
Notice the little shrines? What are they all about?
If you look closely these are dried fruit, perhaps. Maybe it needs an offering? Or maybe it’s just thirsty?
Water it every day until it blooms.
Firefly puzzle
Just walk through one and to the next, then find another and merge them all.
(They look more like sparkling squares than fireflies, but it should be obvious).
"There’s no way up!"
You’ll run into this from time to time. There’s always a path, but it’s rarely obvious. They take three forms, as far as I can tell:
1. There is a narrow winding path, but you have to clear rocks, trees etc to see or access it.
2. There’s a narrow winding path (possible though rocks) blocked by a hard to see boulder. (Think ‘detect secret door’)
3. The spot you are looking at is a mine exit. You will have to explore the mine thoroughly to find it.
Measuring it out
There’s no mapping for the mines, but you can guestimate progress. Using the jungle mine as an example, with roughly evenly spaced torches (circles of light) it has a radius of 26 torches and an outer circumferance of about 160 torches (2Πr). All told, you are looking at around 400 torches to complete the exploration and gem minining for this mine.
Moving on
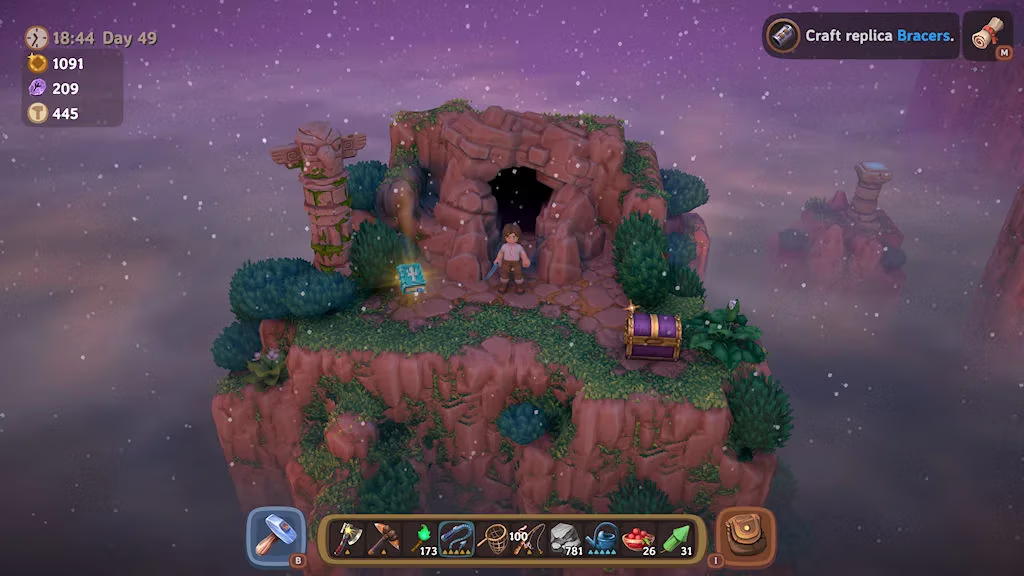
The forest area is accessed by simply building a bridge. The area though is bigger, more complex and needs to be completed to unlock the mountain zone. It’s easier to consider it as two areas – the bridge side, and the swamp side. Crossing the swamp will eventually lead you to the beast, the steel cog (needed to repair the cable car)- and the design for a cabin. On the way you dhoulf also find a cave system that acts as fast travel around the forest.
Next is the mountains – and I’ve still to finish this section myself as it’s meandering, with several outside levels and so easy to get lost or disdirected. The area is quite annoying really! Anyway, at the top of the mountain you’ll find a propellor and the design for a villa.
Finally is the jungle. For this you need to repair the lighthouse (rewarding a map) and repair the boat on the farm, for which you’ll need the propellor and an engine. The boat engine is boat from the fishing shop – for 100,000.
A hole new world (achievement)
I should have continued this video for a few seconds more, but never mind.
This shows how to get the ‘hole new world’ achievement – in the forest area.
I assume there are more caves like this in the swamps of other areas but I mostly try to avoid drowning in quicksand, so…
Anyway, I also found a tome I was missing – despite having the ‘well read’ achievement. Two birds with one stone.
Piracy Pork: Yarrr, I got a pirate pig!
Actually, so far I don’t got a pirate pig.I suspect RNG is involved!
Community suggests:
Buying a pig AT Midnight (12.00)
Buying at pig at 12.01
Buying a pig at or after 12.01
Waiting for a ghost to spawn on your farm (around 12.30) and then buying the pig
…
and housing it straight away. (All least they all agree on the last part!)
Omissions and AWOL
I would argue the game is missing a scythe and a seed sower. The scythe for grass for the pigs, goats and cows, and a seed sower because planting hundred of seeds one by one is ridiculously tedious.
The scythe would upgrade in a circular manner to the hoe, while a seed sower would increase in width, i.e. covering 1, 2,3 or more rows as you walk forward with it.